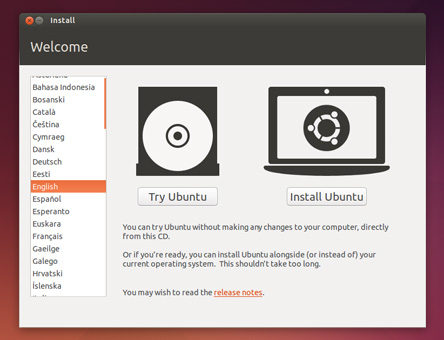
If you have a Macbook with limited storage on SDD and don’t want to install ubuntu on the Mac or you just want to have a movable OS with persistent storage (meaning your settings and files are stored on the drive unlike live CD) in your pocket, you have come to the right place.
In this tutorial, we are going to create a bootable usb flash drive from live ubuntu iso file, and use it to install ubuntu on a flash drive. You can use the same method to install Ubuntu on an external Hard drive or on a partition of external Hard drive.
Part-1: Creating bootable USB Flash drive from MAC.
Follow these steps (from Ubuntu community help wiki):
TIP: Drag and Drop a file from Finder to Terminal to ‘paste’ the full path without typing and risking type errors.
- Download the desired file.
- Open the Terminal (in /Applications/Utilities/ or query Terminal in Spotlight)
- Convert the .iso file to .img using the convert option of hdiutil hdiutil convert /path/to/ubuntu.iso -format UDRW -o /path/to/target.img
- Note: OS X tends to put the .dmg ending on the output file automatically.
- Run diskutil list to get the current list of devices
- Insert your flash media
- Run diskutil list again and determine the device node assigned to your flash media (e.g. /dev/disk2)
- Run diskutil unmountDisk /dev/diskN (replace N with the disk number from the last command; in the previous example, N would be 2)
- If you see the error “Unmount of diskN failed: at least one volume could not be unmounted”, start Disk Utility.app and unmount the volume (don’t eject).
- Execute sudo dd if=/path/to/downloaded.img of=/dev/diskN bs=1m (replace /path/to/downloaded.img with the path where the image file is located; for example, ./ubuntu.img or ./ubuntu.dmg).
- Using /dev/rdisk instead of /dev/diskmay be faster.
- If you see the error dd: Invalid number ‘1m’, you are using GNU dd. Use the same command but replace bs=1m with bs=1M.
- If you see the error dd: /dev/diskN: Resource busy, make sure the disk is not in use. Start Disk Utility.app and unmount the volume (don’t eject).
- Run diskutil eject /dev/diskN and remove your flash media when the command completes
- Restart your Mac and press alt while the Mac is restarting to choose the USB-Stick
NOTE: If you don’t see your usb drive in the boot options, install rEFIt, and reboot your Mac. Choose rEFIt in boot options and press enter, you should see linux as boot options. Part-2: Installing Ubuntu on a USB Flash drive for MAC. Follow the official installation guide for installing Ubuntu with the following exceptions: (You can find the installation guide for latest release at
http://www.ubuntu.com/download/desktop/install-ubuntu-desktop
)
- At Step – 4 Allocate Drive Space, choose the “Something else” option.
-

Choose your Drive Choose your usb drive by clicking on the drop down menu under “Device for boot loader installation”. Note: It has to be different that the one you used in the previous step.
- Click on New Partition Table.
-

Partitions Create the following partitions:
- 100MB partition for biosgrub.
- 100MB partition for efi.
- (Not recommended if you have enough RAM) A few GBs for Swap.
- Rest of the space as ext4.
Part-3: Mac specific drivers, packages and settings. Once your installation is finished, reboot and login. You will notice that your Wifi driver is not working or touchpad is not working properly or your function keys on the keyboard are acting strange. Follow these steps to get everything working normally.
- First, choose the correct model for your Mac from MacBook Air or MacBook Pro or Intel iMac or Mac Pro.
- Follow the instructions on the respective pages to find out limitations and how to work around some or all of them.
TIP: If your Mac doesn’t have a LAN connectivity, connect your phone with data plan to your Mac as portable hotspot and get the Wireless driver working first. After that you can connect to your Wifi to download additional packages.
