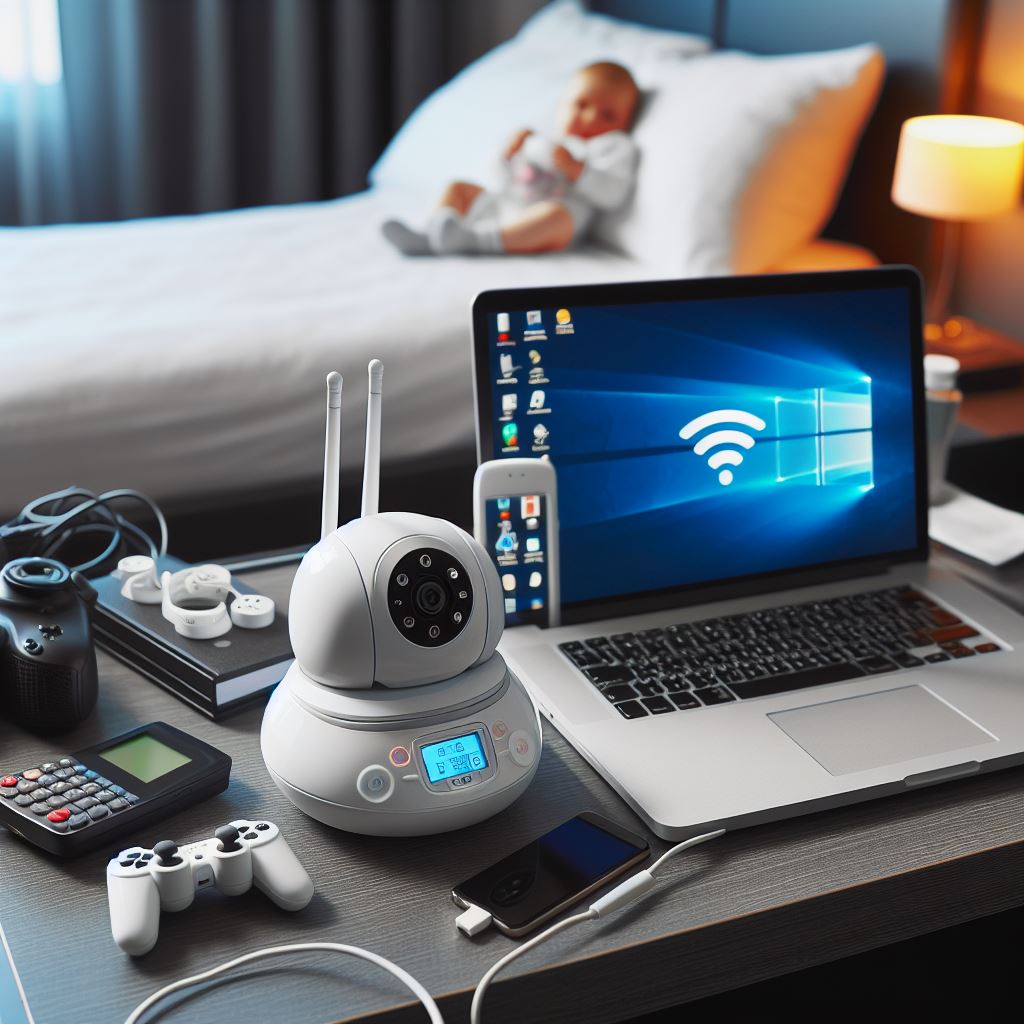
Staying connected while traveling is important, especially when you want to use devices that require internet access, such as a baby monitor camera or Chromecast. However, connecting such devices to hotel WiFi networks, especially with captive portal logins can be a challenge. In this blog post, I’ll share my experience using a Raspberry Pi to create a portable WiFi hotspot using hotel WiFi, allowing me to connect my baby monitor camera and enjoy all its features. This setup not only provided me with peace of mind for monitoring my baby but also doubled as a security camera. Let’s dive into the details!

When traveling with a baby, it’s important to have a reliable way to monitor them, even when staying in a hotel. However, connecting certain devices, like a baby monitor camera, to hotel Wi-Fi can be a challenge, especially when it requires accepting terms on a captive portal webpage. I used a Raspberry Pi and a $10 USB Wi-Fi adapter to create a portable hotspot on hotel Wi-Fi, allowing me to connect my baby monitor camera to the internet seamlessly. It also transformed the camera into a security device with features like crying detection, motion alerts and person detection, providing peace of mind even when we were away from the room.
The Challenge of Hotel Wi-Fi and Captive Portals
- Connecting a baby monitor camera to hotel WiFi networks that require accepting terms from a webpage after connecting can be quite challenging. Such networks don’t allow direct connections from devices like baby monitors, preventing you from fully utilizing their features. However, there’s a solution that involves using a Raspberry Pi to create a portable WiFi hotspot.
The Raspberry Pi Solution
- The Raspberry Pi is a versatile device that can serve as the perfect solution for creating a portable WiFi hotspot. By following a set of instructions from LinuxHint, I successfully set up a hotspot using Network Manager.
Required Hardware
- Raspberry Pi
- MicroSD Card with Raspbian OS (Full)
- Power Supply
- USB Wi-Fi adapter (I used TP-Link USB Adapter)
Creating a Hotspot
Step 1: Install Network Manager on Raspberry Pi
Network manager is a tool used to handle the configuration of network interfaces on your Raspberry Pi system. Thus, you need to ensure that it must be installed and if it’s not, you can run the following command to install it on your Raspberry Pi system.
sudo apt install network-manager -y

Step 2: Open Raspberry Pi Configuration
- Open the Raspberry Pi configuration in the terminal by executing the following command: sudo raspi-config
- Select the “Advanced Options” within the Raspberry Pi configuration mode.
- Then select the “Network Config” option to open the network configuration.
- In the network configuration, select the “Network Manager” option.
- After selecting the network configuration, reboot your device to apply the changes.
- When your device reboots, you will be disconnected from the internet and to use the internet, you must connect an Ethernet cable with your device.

Customizing the Hotspot Settings
- To optimize my Raspberry Pi hotspot setup, I made a few enhancements and customizations. Firstly, I adjusted the Portable Hotspot SSID settings to give priority to the hotspot interface and ensure automatic startup. Select the mode as “Hotspot”, and assign one device (e.g. wlan1) to the hotspot, so the Raspberry Pi will always boot with the Hotspot enabled on one of the wifi devices. You will use the other wifi device to connect to the hotel wifi.
- Additionally, I enabled the VNC server using the
raspi-configcommand, which allowed me to remotely access the Raspberry Pi using a VNC viewer app on my phone. These modifications streamlined the setup process and improved convenience.


Section 4: Connecting to the Hotspot and Hotel Wi-Fi
- Connecting the baby monitor camera and gaining internet access is a straightforward process with the Raspberry Pi hotspot.
- Once you connect your phone to the Raspberry Pi’s hotspot WiFi, open a VNC viewer app on your phone and connect to your Raspberry Pi’s VNC server. In my case, the hostname is hotspot.local. You can also connect with an IP address. Find the IP address of the Raspberry Pi device by looking at the Router IP under connection information for the hotspot wifi on your phone.


- Once connected to the Raspberry Pi with a VNC viewer app, connect your USB dongle wifi device to the hotel’s wifi network. You can then open a web browser and navigate to the captive portal login for the hotel WiFi. After accepting the terms and verifying internet access on the Raspberry Pi, you can then turn on the baby monitor camera and connect it to the hotspot.

Section 5: Multiple Device Connectivity and Cost Savings
- Aside from facilitating the connection of the baby monitor camera, this Raspberry Pi hotspot setup offers additional benefits and cost savings. One major advantage is that it enables you to connect multiple devices to the internet without incurring extra charges from the hotel for each device. By paying for only one device, you can enjoy connectivity on all of your devices, making it a cost-effective solution.
By harnessing the power of a Raspberry Pi and a USB Wi-Fi adapter, I was able to overcome the limitations of captive portals and connect my baby monitor camera to hotel Wi-Fi seamlessly. The portable hotspot solution not only enabled me to monitor my baby from anywhere but also added extra security features. Now, you can also enjoy the convenience of staying connected to hotel Wi-Fi on multiple devices without incurring additional charges. With this setup, you can focus on enjoying your trip while ensuring your baby’s safety and well-being.
