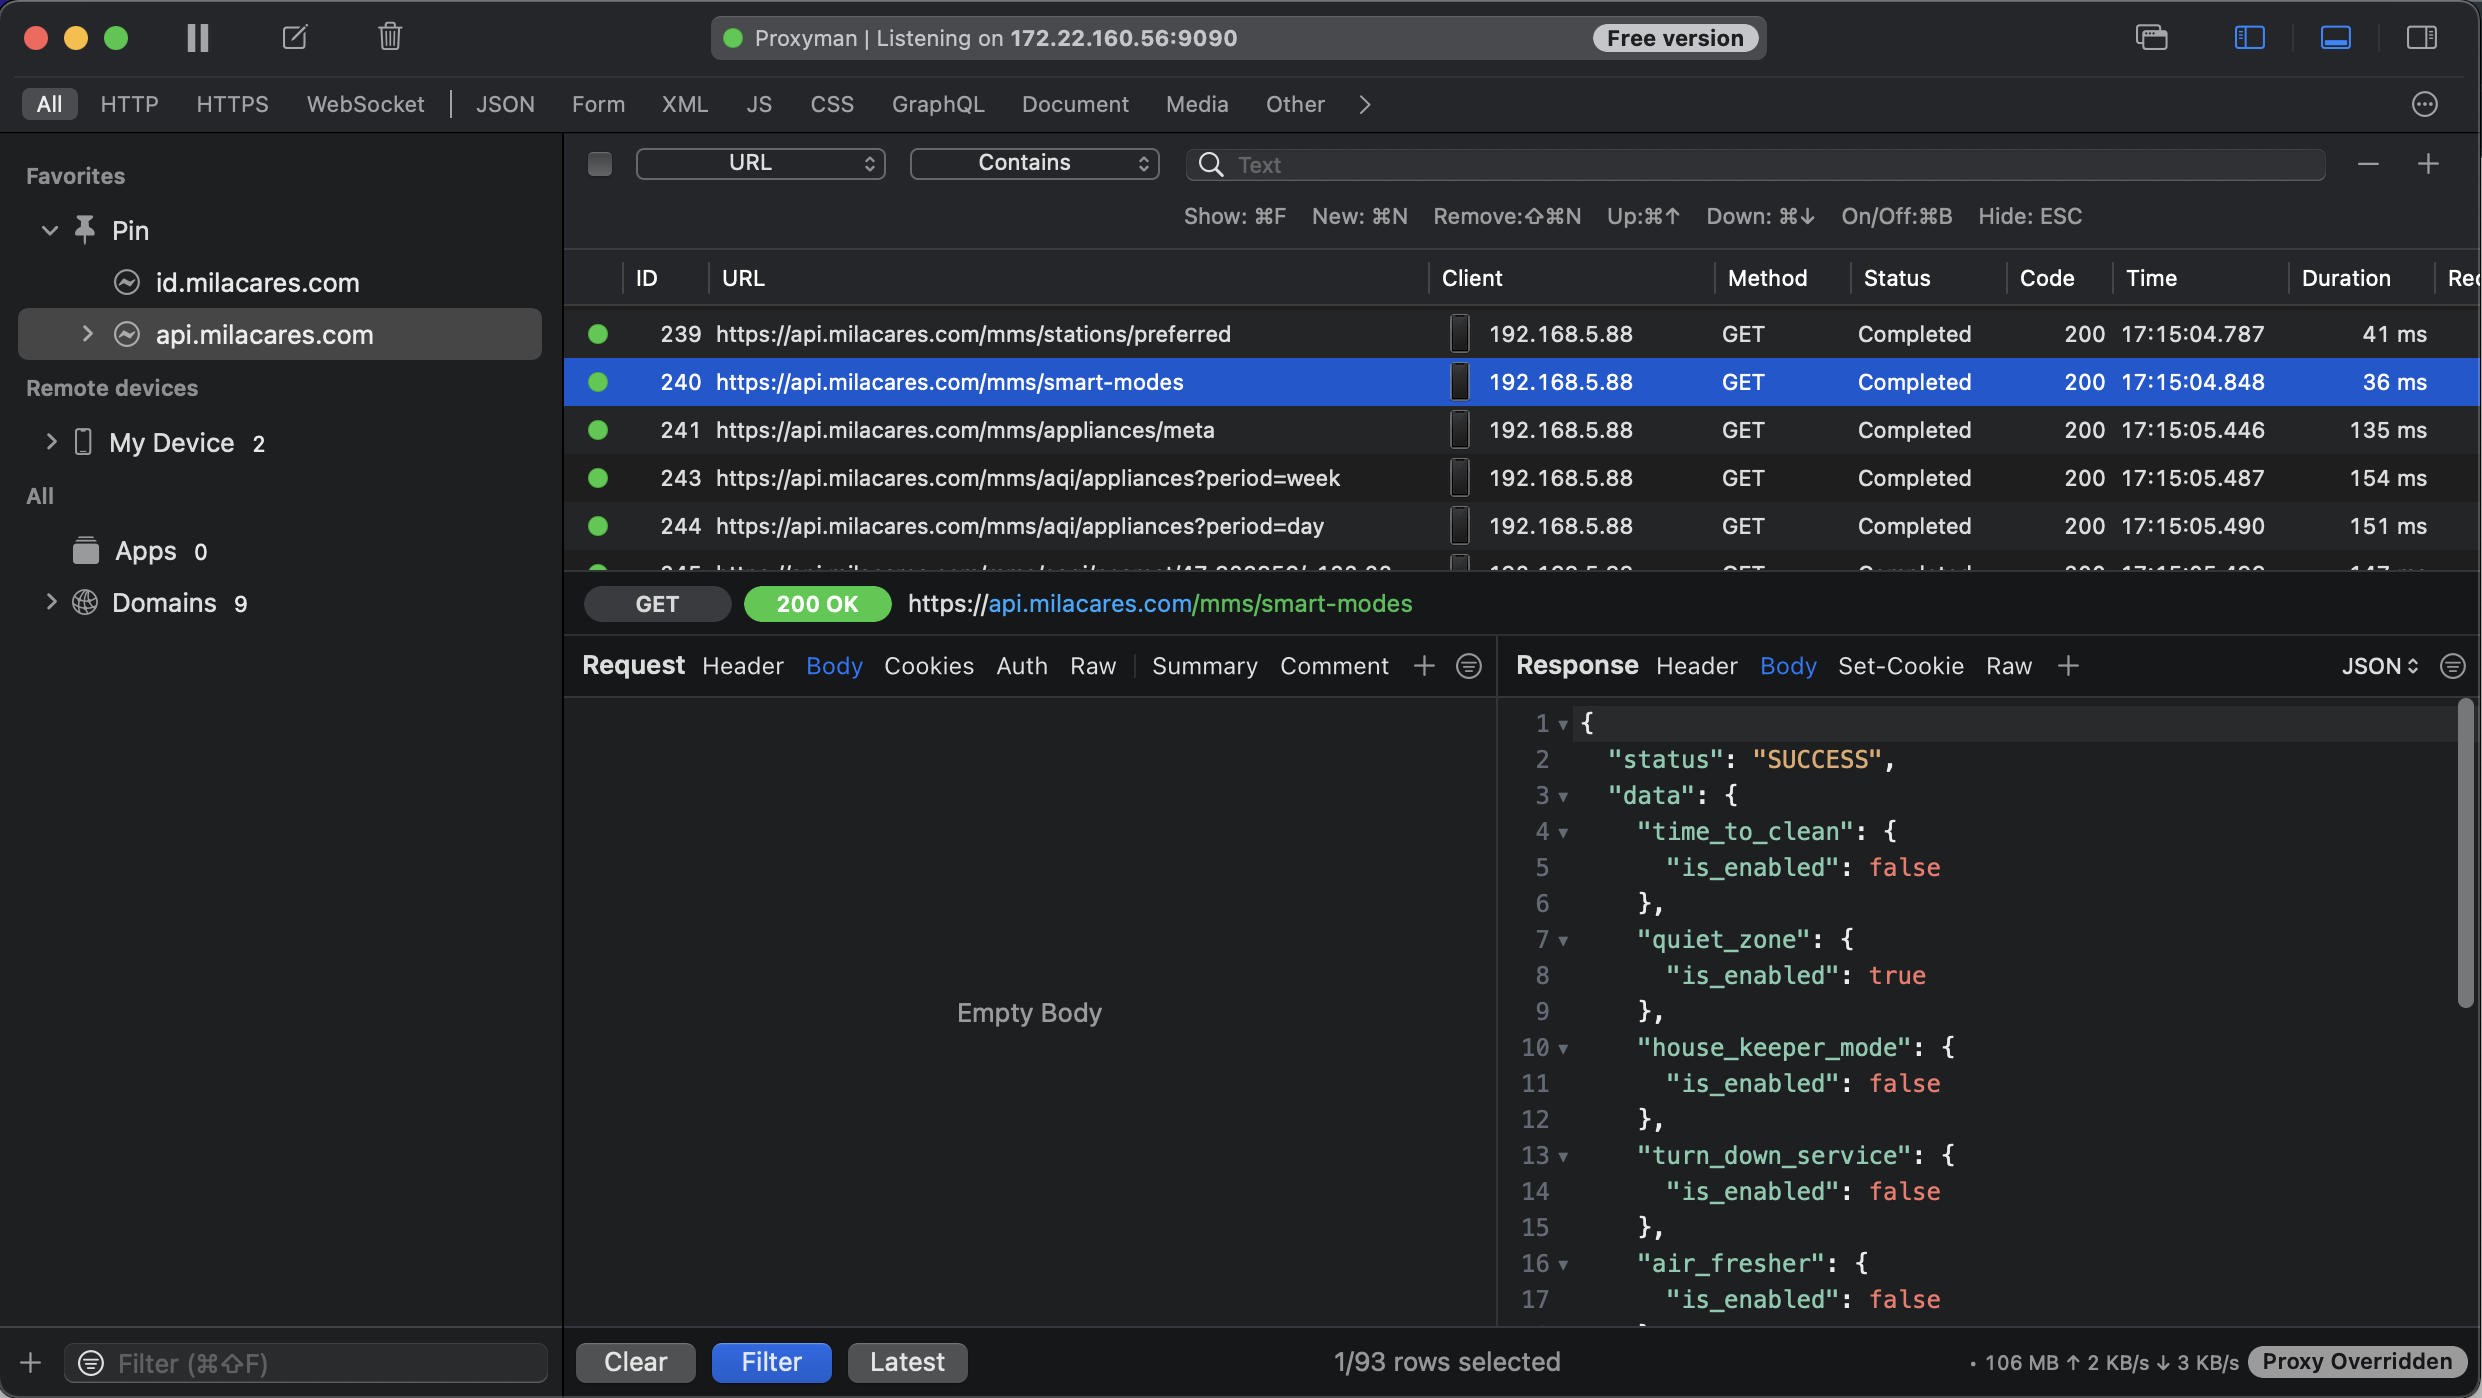
Last year, I backed an Air purifier from Kickstarter developed by Mila Cares team, who promised to provide public API on launch. My goal was to write an integration component for the air purifier with Home Assistant like I have done in the past with Snoo smart sleeper and Mint finance. However, I wasn’t surprised when they fell short on their promise months after they shipped the Air purifier. In fact, I was fully prepared to use my engineering skills to reverse engineer their private API myself by intercepting the network traffic from the mobile app to its servers. Like any of my other projects, this also turned out to be a lot more involved than I thought initially. In other words, this is the story of how I became a hacker.
Component Development Process
I follow a 4 step process when creating a component for Home Assistant. Once I reverse engineer and document the private API, I create a python wrapper and publish the module on PyPI. I can then use the python wrapper as a dependency in the Home Assistant component and integrate it. I have followed this 4 step process when creating ha-snoo and you can find more details in my previous post – Home Assistant Component – Snoo Smart Sleeper. I wanted to follow the same process for developing Milacares Air purifier custom component for Home Assistant.
SSL Proxy
This article talks about step 1 of the Home Assistant component development process and I am going to start with how to intercept and record the network requests to understand how the mobile app communicates with the server.
I usually use network proxy (e.g. Charles, Fiddler, Proxyman) to intercept and record network traffic. This approach works with minimal setup with a simple proxy change on the mobile device’s network settings, but it fails if you want to monitor HTTPS traffic. In order to decrypt HTTPS traffic, you need to install and trust a root certificate on the mobile device. The proxy service provides instructions for setting this up. With this setup, instead of your browser seeing the server’s certificate, proxy service dynamically generates a certificate for the server and signs it with its own root certificate. Proxy service receives the server’s certificate, while your mobile app receives the proxy service’s certificate. Therefore you have to add the proxy service’s CA certificate to your device’s trusted certificates. Proxy service still communicates via SSL to the webserver. The communication is SSL (encrypted) from mobile app to proxy service and also SSL (encrypted) from proxy service to the webserver.
SSL Pinning
Since I knew the communication between the mobile app and the cloud service is being done over SSL, I set up a Proxyman proxy server on my MacBook and followed the provided instructions to set up my iPhone so all of the mobile device’s network traffic is proxied through Proxyman.
Usually, this should have been enough to be able to intercept and decrypt all network requests including HTTPS requests. But I was still seeing that Proxyman couldn’t decrypt the network requests only for the ones for Mila Cares’ servers. After some research, I found that this can only happen when the mobile app is using a much stricter form of security with SSL pinning.
An application developer can associate certificates they want to trust as part of the app bundle or include the certificate’s public key in the code as a string. At runtime, the app compares the server’s certificate or the public key to the one bundled or hardcoded in the application code. So if the app uses SSL pinning as a mitigation strategy for man-in-the-middle attacks, the proxy server’s certificate we installed earlier was of no use here.
iPhone Jailbreak
There is one potential option we can get around the SSL pinning, but that requires jailbreaking an iPhone. Jailbreaking an iPhone lets you have root access so you can install custom applications and have more control over the system. Luckily I had a spare iPhone 5s with no resale value. So I followed the steps here to jailbreak it. Jailbreaking also installs Cydia app store, where you can find apps and packages for jailbroken iOS devices.
SSL Kill Switch is a Blackbox tool to disable SSL/TLS certificate validation – including certificate pinning – within iOS and macOS applications. In addition to the instructions on GitHub, I had to figure out how to transfer the Debian package to the iPhone from my MacBook.
scp ./com.nablac0d3.sslkillswitch2_0.14.deb root@<iphone ip address>:/private
The default password is “alpine”
Once this was set up, I was able to enable SSL Kill Switch, configure the proxy in iPhone’s network settings. Now all the intercepted traffic from the mobile app was bypassing the SSL pinning and I was able to see all the network requests in plain text.

Next Steps
Postman has great resources on starting with reverse engineering an API. As the next steps, I wanted to understand how they handle login and authentication on subsequent requests. Before writing an API client for use with my Home Assistant custom component, I want to be able to successfully replicate the login and other network requests using Postman. If you thought this was a huge success, stay tuned for Part 2 of this series, where I talk about the next challenge I faced with the authentication flow and how I had to figure out a way of getting user access tokens by scraping webpage and spoofing as a valid client.

One thought on “Reverse Engineering Private API – SSL Pinning”